Commercial Chassis
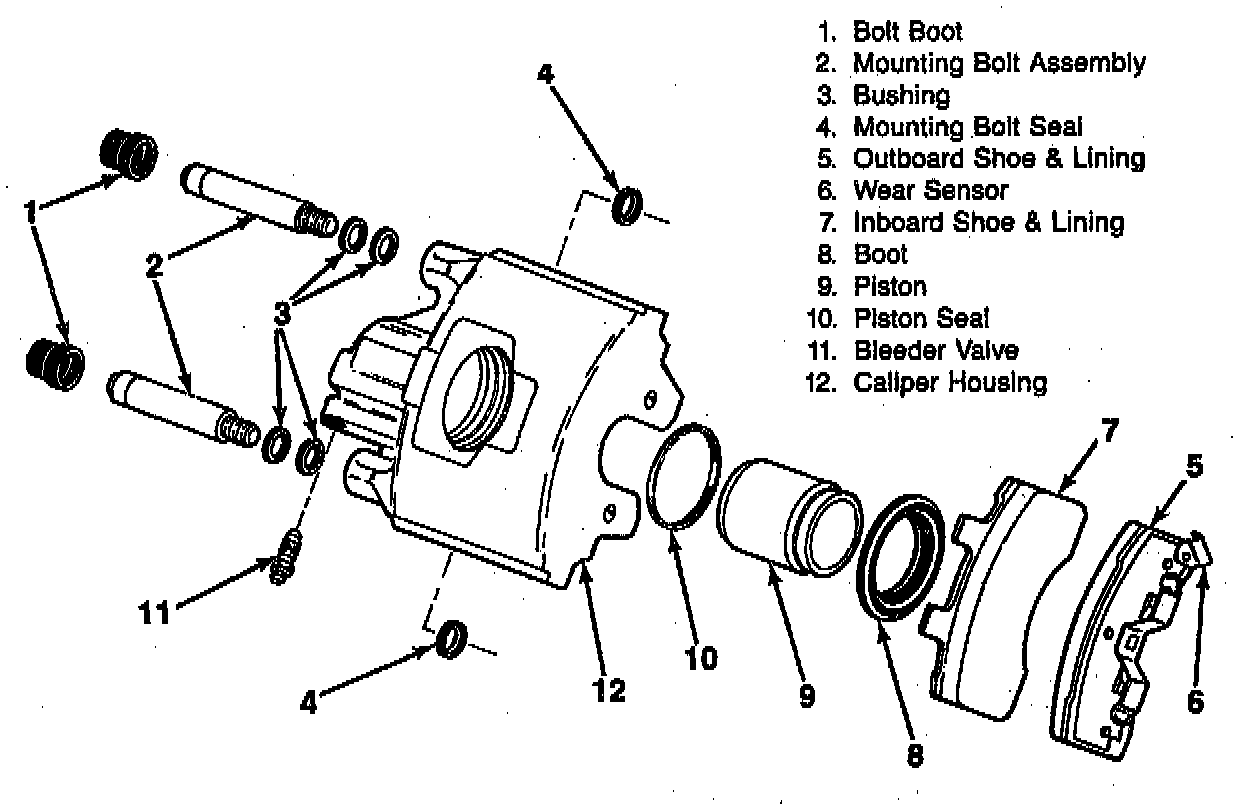
REMOVE OR DISCONNECT
1. Fluid from the caliper.
2. Pad the interior of the caliper with clean shop towels.
CAUTION: Do not place your fingers in front of the piston in an attempt to catch or protect it when applying compressed air. This could result in serious injury.
NOTE: Use just enough air to ease the piston out of the bore. If the piston is blown out, even with the padding, it can be damaged.
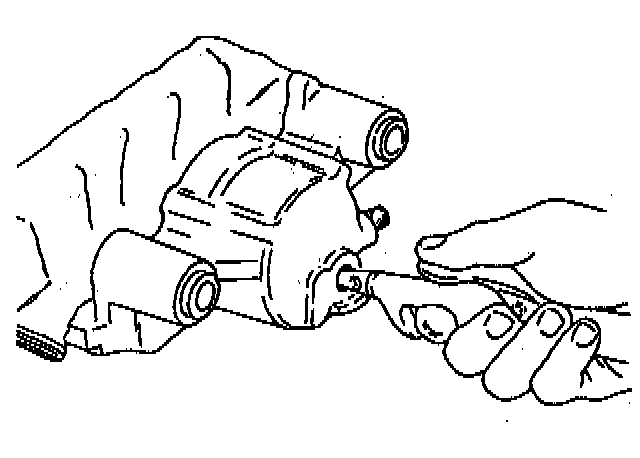
3. Piston. Direct compressed air into caliper fluid inlet. Use just enough air pressure to ease piston out of bore.
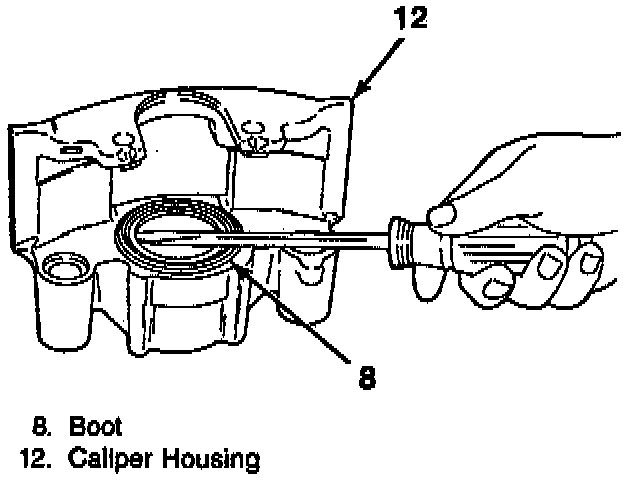
4. Boot. Use care not to scratch housing bore.
5. Piston seal. Do not use any type of metal tool.
6. Bleeder valve. Clean Bleeder valve, caliper bore, caliper passages, and piston with denatured alcohol. Use dry, filtered, compressed air to dry parts and blow out passages. Inspect Piston for scoring, nicks, corrosion, wear, and damaged chrome plating. Replace piston if any of these are found. Caliper bore and seal groove for scoring, nicks, corrosion, or wear. Use crocus cloth to polish out any light corrosion. Replace caliper if corrosion cannot be removed.
INSTALL OR CONNECT
1. Lubricate new piston seal, caliper bore, and piston with clean brake fluid.
2. Piston seal. Use care not to twist the seal.
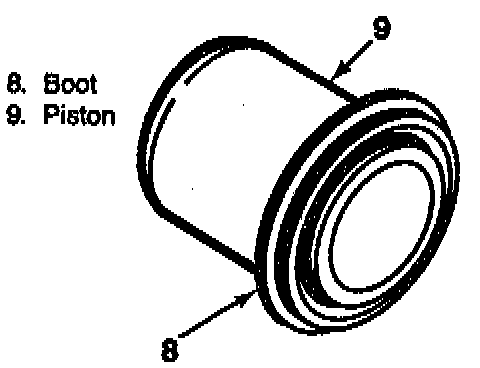
3. Boot on piston.
4. Piston and boot into caliper bore.
a. Push piston to the bottom of bore.
b. Seat boot in housing using J 36474, J 36475, or J 38453.
5. Bleeder valve. Tighten Bleeder valve 13 Nm (115 inch lbs.).