Front Blower Motor Replacement
Remove or Disconnect
1. Negative battery cable.
2. Cowl cross-tower brace.
3. Disconnect electrical connectors from ignition control module.
4. Position cross car harness out of way.
5. #5, and #7 plug wires. Position spark plug harness out of way
6. Solenoid purge valve.
7. Inertial plate from blower motor.
Important
Re-install two screws with washers to prevent the motor and housing from separating during removal and installation.
8. Connector from blower motor.
9. Blower motor screws.
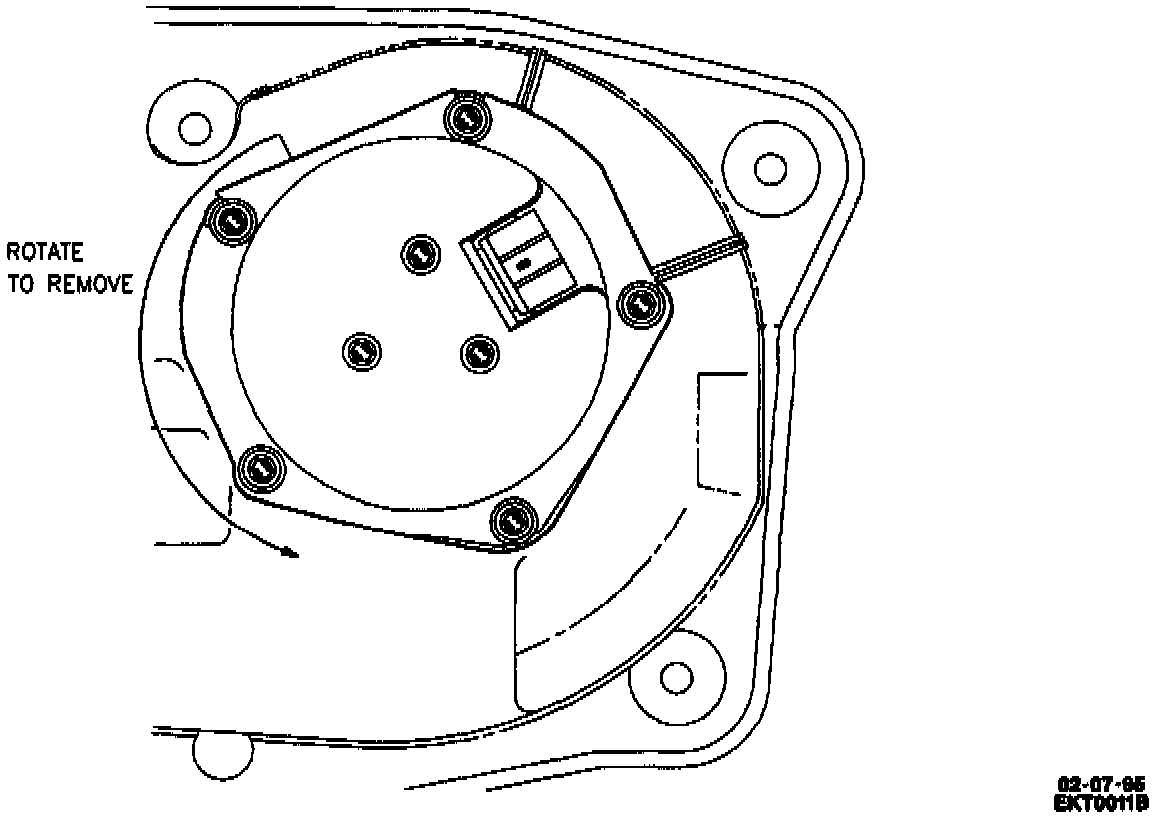
10. Rotate blower motor so that the flat side is down. Refer to Figure 43.
11. Blower motor.
Install or Connect
NOTICE: Failure to maintain a 25 mm clearance between spark plug wires and HVAC blower motor may result in improper operation or failure of blower motor.
1. Remove the inertial plate for the new blower motor
Important
Re-install two screws with washers to prevent the motor and housing from separating during removal and installation. Leave blower motor in box to reduce the amount of handling of the blower motor.
2. Rotate blower motor so that the flat side is down.
3. Blower motor.
4. Inertial plate.
5. Blower motor screws.
Tighten
^ Torque screws to 1 N.m (7 lb. in.).
6. Connector from blower motor.
7. Solenoid purge valve.
8. #5, and #7 plug wires for spark plugs. Reposition spark plug harness.
9. Reposition cross car harness.
10. Disconnect electrical connectors from ignition control module.
11. Cowl cross-tower brace.
12. Negative battery cable.